
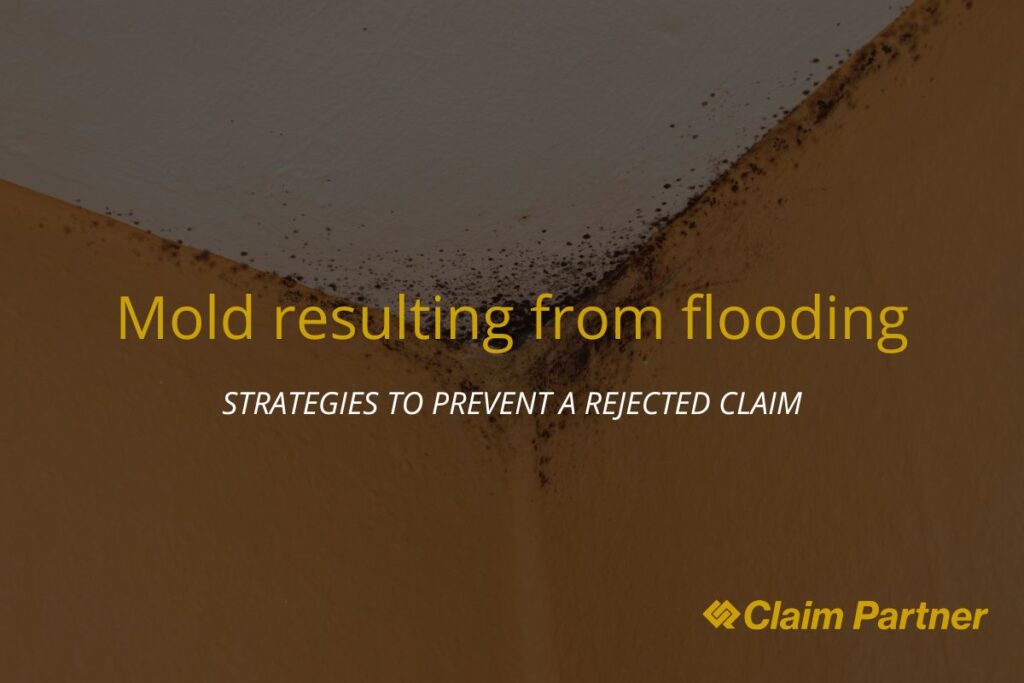
After a flood, one of the biggest risks that is not visible to the naked eye is mold growth. And although insurance companies usually cover certain water damage, mold-related claims are among the most rejected. Why? In many cases, it is due to a lack of proper documentation or failure to follow the necessary steps immediately after the event.
In this guide, we explain what to do from the outset so that your claim is not dismissed due to “negligence,” lack of evidence, or technical exclusions.
How to document mold damage in your home?
1. What does the insurance policy say about mold?
Mold is not always covered. In most standard home insurance policies, mold damage is only covered if it is the direct result of a sudden and accidental event, such as a broken pipe or covered flooding. If the mold is the result of slow leakage or lack of maintenance, the insurer will most likely exclude it.
Therefore, documentation is key to proving that the mold was caused by a covered event.
2. First step after a flood: notify and document
As soon as it is safe to return to the property, you should:
- Contact your insurance company and report the incident. Do so in writing or request a claim number.
- Take photographs and videos of the damage, including:
- Flooded areas.
- The water level (if visible on the walls).
- Affected furniture and belongings.
- Any early signs of mold (black spots, dampness, change in smell).
- Save evidence of the source of the damage (e.g., broken pipe, leakage from damaged roof, water entering through windows).
3. When does mold start to grow?
Mold can begin to develop within 24 to 48 hours after a surface remains wet. That’s why it’s crucial to act quickly:
- Don’t wait for the adjuster to come and document the current condition.
- Conduct a daily inspection during the first few days to detect any signs of mold growth.
4. How to document mold correctly?
The key is to demonstrate three things:
- That it did not exist before the event.
- That it is directly related to the flood.
- That you took immediate action to mitigate the damage.
Recommendations:
- Clear, high-quality photographs.
- Before and after comparisons, if available.
- Testimonials or reports from restoration or professional cleaning companies.
- If you hire a professional, request a detailed mold assessment report.
5. What if the insurer rejects the claim?
If the claim is denied on the grounds that the mold was pre-existing, preventable, or excluded from the policy, you can:
- Request a second inspection by another adjuster.
- Request an independent assessment by a certified water damage or mold inspector.
- Consult a public adjuster to represent you before the insurance company.
- Exercise your right to appeal the claim by providing new documentation or technical evidence.
6. What can you do now to prevent future problems?
- Review your current policy: some offer specific mold endorsements.
- Install moisture sensors in critical areas such as basements or under sinks.
- Hire annual inspections to detect invisible leaks.
- Always keep visual evidence of your spaces to have a “before” in case of future claims.
Mold is a silent enemy and often overlooked. But if you properly document its appearance and link it directly to a covered cause, you can avoid losing your right to compensation. When it comes to insurance, proving is as important as preventing.
Do you have questions about how to file a mold claim or whether your current policy covers it?
At The Claim Partner, we help you review your coverage and defend your rights as an insured party.
You may also be interested in reading:
- Denied claims: legal steps and resources to defend your rights
- Black mold vs. green mold: do they affect your insurance policy the same way?
- Does your policy cover mold damage in your home? Guide to types and coverage
- Photo checklist: What to take photos or videos of before moving or cleaning for an insurance claim